In this step, we begin to learn to create new ETLs for other operations. Suppose you wanted to expand the
Patients dataset to also include male participants who are "Natural Controllers" of HIV.
To do this, we use another
SQL query that returns a selection of records from the Demographics table, in particular all Male participants who are Natural Controllers. The new ETL we create will have the same target/destination as the first one did.
Define Source Query
The archive you imported has predefined the query we will use. To review it and see how you could add a new one, follow these steps:
- Select (Admin) > Go To Module > Query.
- Click study to open the study schema. If you were going to define your own new query, you could click Create New Query here.
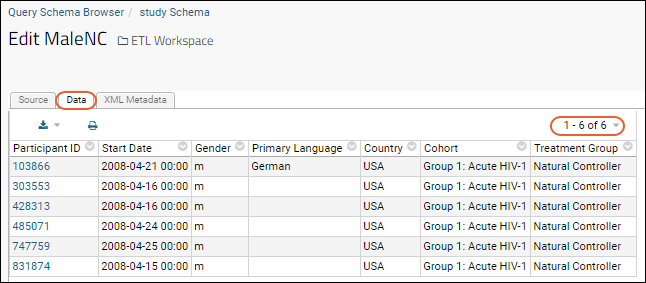
- Click MaleNC to open the predefined one.
- Click Edit Source to see the source code for this query. Like the FemaleARV query, it selects rows from the same Demographics dataset and applies different filtering:
SELECT Demographics.ParticipantId,
Demographics.StartDate,
Demographics.Gender,
Demographics.PrimaryLanguage,
Demographics.Country,
Demographics.Cohort,
Demographics.TreatmentGroup
FROM Demographics
WHERE Demographics.Gender = 'm' AND Demographics.TreatmentGroup = 'Natural Controller'
- Click the Data tab to see that 6 participants are returned by this query.

Create a New ETL Process
Next we create a new ETL configuration that draws from the query we just created above.
- Select (Admin) > Folder > Management.
- Click the ETLs tab.
- Above the Custom ETL Definitions grid, click (Insert new row).
- Copy and paste the following instead of the default shown in the window:
<etl xmlns="http://labkey.org/etl/xml">
    <name>Demographics >>> Patients (Males)</name>
    <description>Update data for study on male patients.</description>
    <transforms>
        <transform id="males">
            <source schemaName="study" queryName="MaleNC"/>
            <destination schemaName="study" queryName="Patients" targetOption="merge"/>
        </transform>
    </transforms>
    <schedule>
        <poll interval="1h"/>
    </schedule>
</etl>
- Click Save.
- Click the ETL Workspace tab.
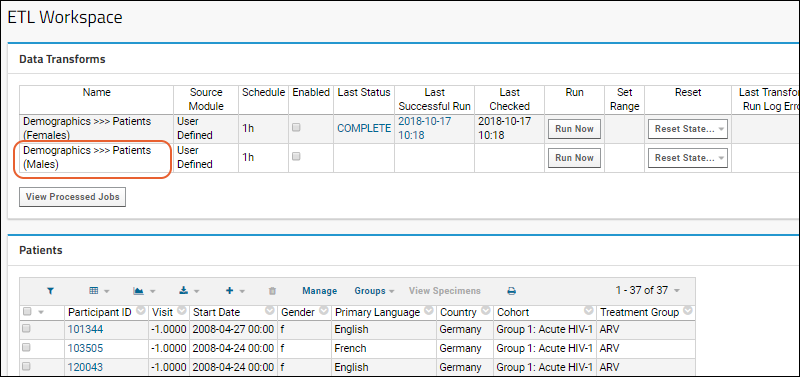
- Notice this new ETL is now listed in the Data Transforms web part.

Run the ETL Process
- Click Run Now next to the new process name.
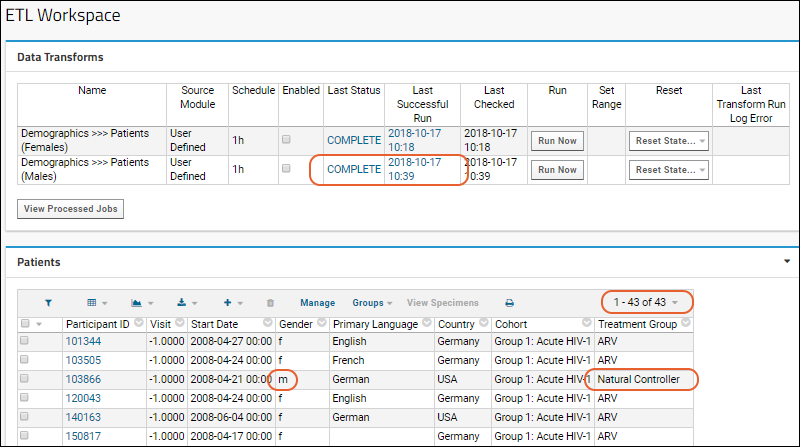
- Refresh in the pipeline window until the job completes, then click the ETL Workspace tab.
- New records will have been copied to the Patients table, making a total of 43 records (42 if you skipped the step of changing the gender of a participant in the source data during the previous tutorial step).

Finished
Congratulations! You've completed the tutorial and created a basic ETL for extracting, transforming, and loading data. Learn more in the
ETL Documentation.
