This topic explains how to install and set up the genotyping module.
Add the Genotyping Module
- Acquire and enable the genotyping module zip file (see "Modules" section for details).
- Select Admin > Site > Create Project.
- Give the project a Name, select Genotyping, and click Next.
- Click Next, then Finish to complete basic project creation with default security and project settings. (These can be changed later.)
Get Sample Data
Import the Reference Sequences, Run Data, and Sample Info
The following lists are added to the database by importing a pre-prepared list archive.
- reference sequences
- run-specific data
- sample information
- If necessary, click Genotyping Dashboard tab.
- In the Lists web part, click Manage Lists.
- Click Import List Archive.
- Browse to the unzipped sample data you downloaded and select the gs_archive.lists.zip file.
- Click Import List Archive.
- You will see the contents imported to LabKey Server as part of the lists schema.
Configure Data Resources
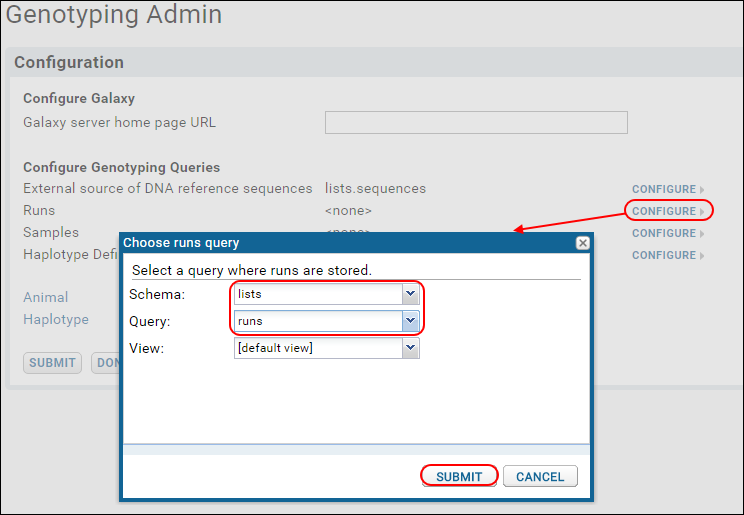
Before managing sample information, you must configure the reference sequences, run-specific data, and sample information on the genotyping admin page.
- Click Genotyping Dashboard.
- Under Settings click Admin.
- For each row in the Configure Genotyping Queries section, click Configure.
- In the popup, select:
- Schema: "lists"
- Query:
- For "External source of DNA reference sequences," choose "sequences."
- For "Runs," choose "runs."
- For "Samples," choose "libraryDesign."
- For "Haplotype Definitions," choose "mids."
- Leave the View for each set to: [default view].
- Click Submit in the popup.

- When all queries are configured, click Submit on the Genotyping Admin page.
- You will see a warning that "Reference sequences have not been loaded in this folder."
- Click Load Sequences.
Import the Reads
The read data is uploaded and then imported as files in the file system (rather than as lists in the database).
- Click View Pipeline Status. (Click Genotyping Dashboard if you don't see this link.)
- Click Process and Import Data.
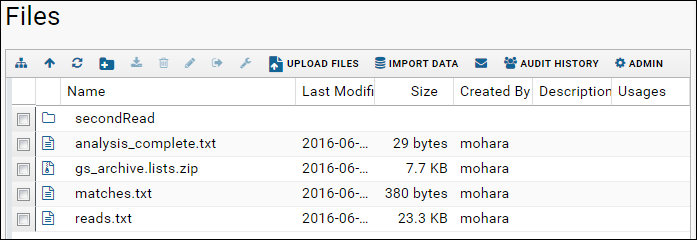
- Drag and drop the unzipped [genotypingSampleData] directory into the upload region.
- When the upload is complete you will see the list of files.

Where Did the Files Go?
When you upload files via the pipeline, they are stored locally in the file system directory. To see where the file is physically located,
show the download link column. Click the arrow next to any column header, select
Columns, then check the box for
Download Link. The location will be something like:
<LABKEY_HOME>\files\<PROJECT_NAME>\@files
Next Steps
Different types of genotyping workflow use the same dashboard setup.