Once you have created the
Sample Type, you can add the samples themselves in several ways. Import an existing inventory spreadsheet, add the samples individually, or enter information in bulk (and then refine it). The Sample Type acts like a table and each individual sample of that type will be a row in the table.
For a tutorial walkthrough of adding samples to the system, see this topic:
Tutorial: Add Samples
Note: Once you have added some samples, you can select one or more before clicking
More and then selecting one of the
Derive options:
- Aliquot the Selected Sample(s)
- Derive from Selected
- Pool Selected
Learn about these options in the topic:
Aliquots, Derivatives, and Sample Pooling.
Create New Samples
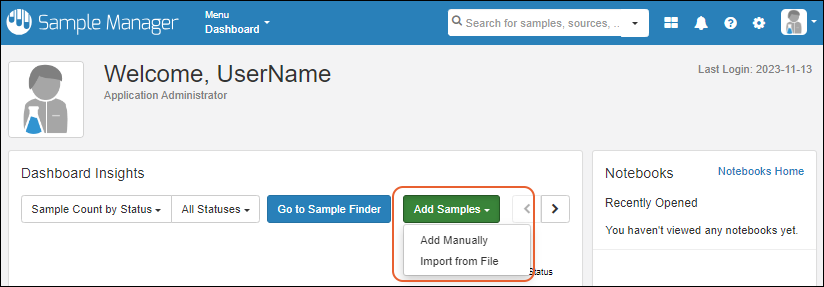
To add new samples, you either navigate to the type of sample you are adding and use the
Add menu above the grid, or go to the home page or the Sample Types dashboard and click
Add Samples. In both places you choose either:

Note that fields of type
File are not included in either import method. Values for these fields must be individually added as described in this topic:
Attach Images and Other Files.
Create Samples From Grid
Using the
Add Manually option gives you several options for entering sample information into the application directly, as opposed to uploading a file of data. You can manually enter values for the fields in a grid format, or use bulk insert and bulk update to streamline entry of similar values.
Learn more in this topic:
Create Samples from Grid
Import Samples From File
The other method for entering samples, particularly useful for a large group or when sample information is available in a spreadsheet already, is to import directly from a file.
Learn more in this topic:
Import Samples from File
Assign Amount and Units
During Sample creation, you can assign the
Amount of that Sample, with
Units. Previously these values were provided and tracked when the Samples were in storage.
The column providing the amount can be named either "Amount" or "Stored Amount". If the units value provided is different from the units value set for the Sample Type, the amount will be converted to those units for display. For example, if your Sample Type is set to display values in mL, and you enter an amount of 1 L, you'll see 1000mL displayed. Learn more about display values for amounts and units
here.
Whether a Sample is or is not in storage within the application, you'll be able to see the amount displayed in
an Inventory/Storage Details panel of the sample details.
Sample amount values can be used to generate "low volume" reports in the
Sample Finder.
Work with New Samples
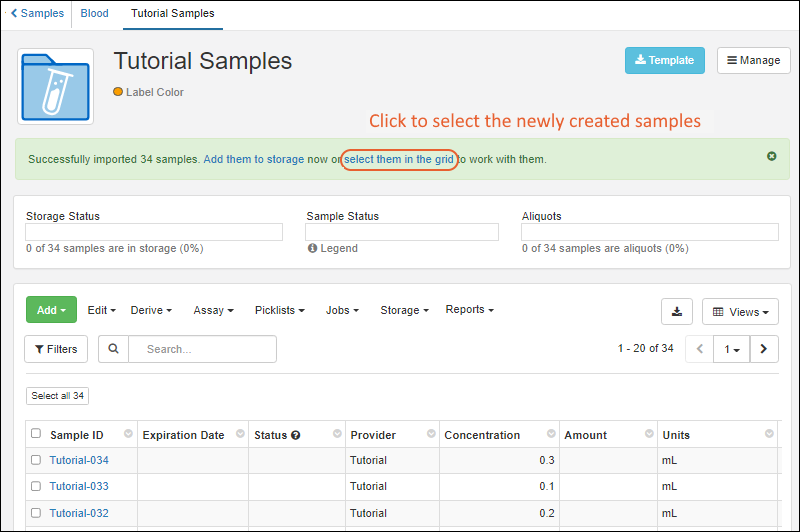
After creating samples, the banner message indicating how many were created. In that message, click
select them in the grid to select this recently created batch for actions like adding them to a picklist or workflow job. You can also click
Add them to storage to immediately
add the new samples to freezer storage locations.

If your creation did not already set the status of these samples, you could select them all in the grid, then use
Edit > Edit in Bulk to set it. Learn more about sample status here:
Learn more about options for working with samples here:
Create Derivatives, Pooled Samples and Aliquots
Once you have created the Samples you want to use as parents, you can also create new samples as derivatives, pooled samples, and aliquots. Learn more in these topics:
Related Topics